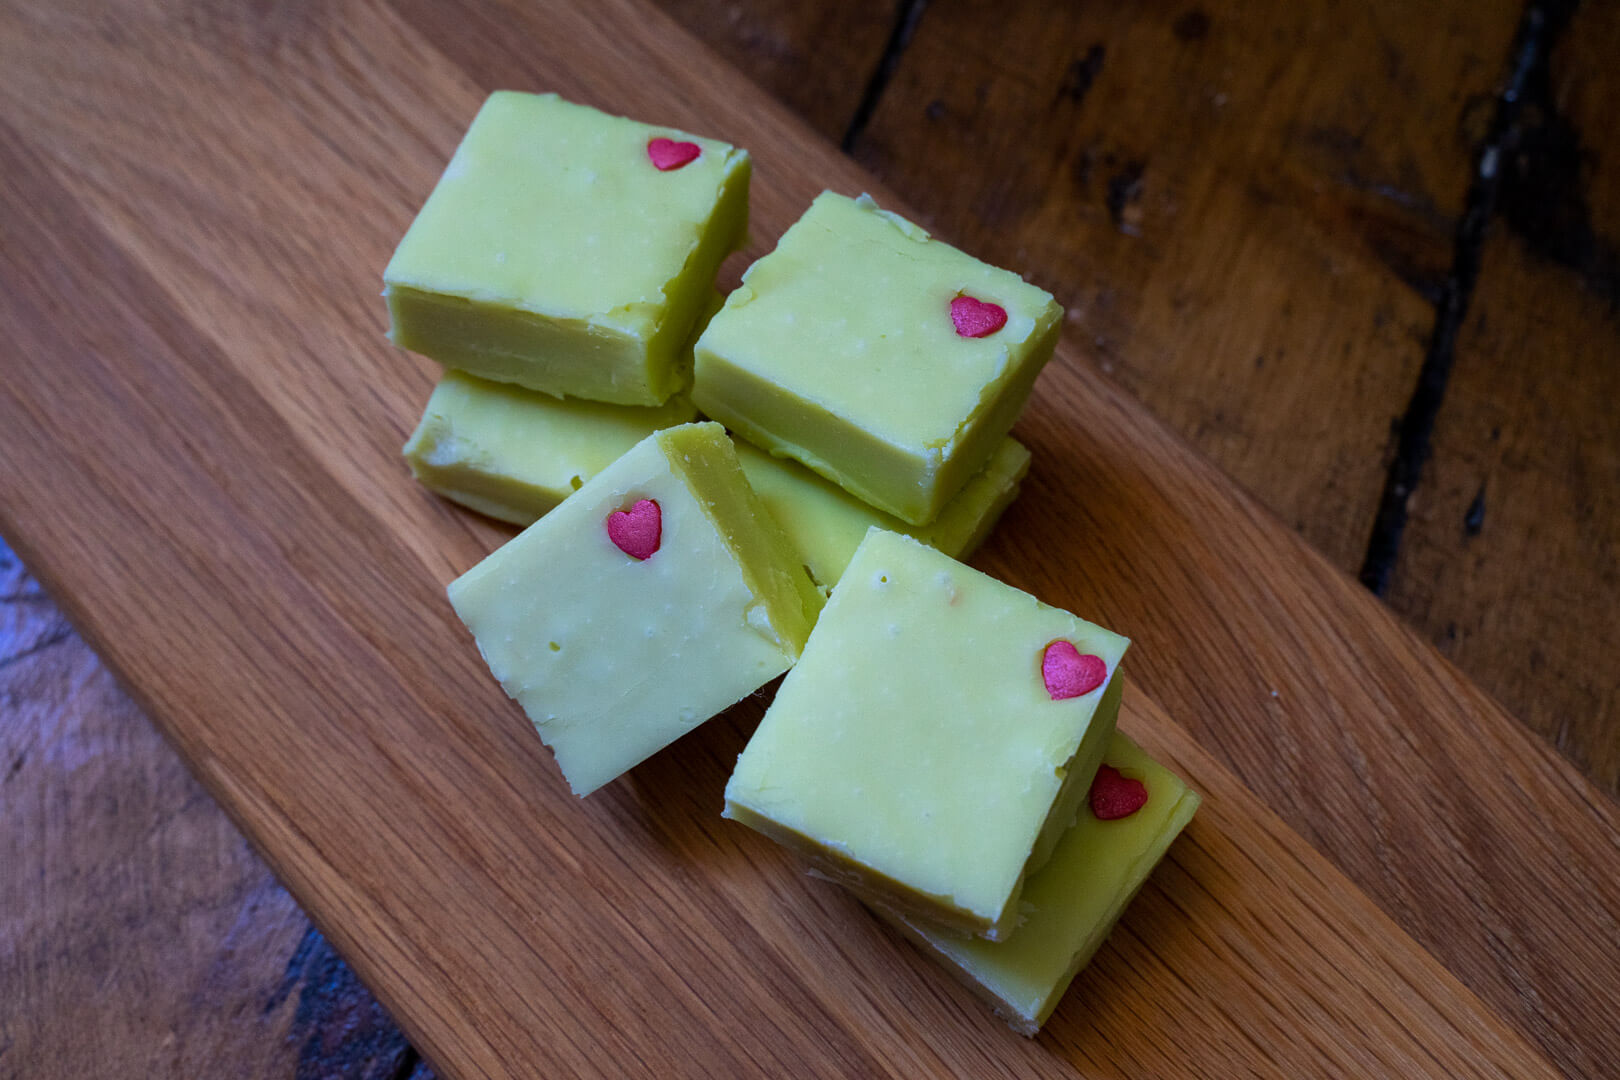
Christmas Fudge Recipes – Grinch Fudge!
This post may contain affiliate links of which we earn a small commission should you choose to purchase through them. This helps us to keep the site running. Thank you for your support
When I was looking for some fun and easy Christmas recipes, I came across all of the wonderful Grinch foods that were floating around the internet!
From green and red pancakes, cupcakes, pretzels and popcorn to fudge, which is possibly one of my favourite things to make!
It’s so easy and it stores for weeks which are two pretty important requirements for baking in my opinion, otherwise my sugar intake would be beyond the sky high it is already!
If you are from the UK, this fudge tastes exactly like Milkybar, it is SO smooth and tasty!
It will definitely leave you wanting more!

Overview
Makes: 40+ pieces
Prep time: 5 mins
Cook time: 15 mins
Total time: 2 hours 20 mins (2 hour rest time)
Ingredients
- 450g White chocolate
- 1 tin Condensed milk (397g)
- 30g Unsalted butter
- 2-3 tsp Vanilla extract
- Green food colouring
Optional
-
- Heart decorations
Utensils
- Scales
- Large saucepan
- Wooden spoon/Spatula
- 8″ Square baking tin
Optional
-
- Parchment paper

Instructions
- Add your 450g white chocolate, full tin of condensed milk (397g), 2-3 tsp vanilla extract and 30g unsalted butter to your saucepan before placing on a low to medium heat.On my hob, I have this on the lowest heat setting possible but bear in mind that all cookers are different and you may need to have this a little bit higher.
Break your chocolate into small pieces before adding to the pan as this will help it melt quicker.
- Stir gently until all the ingredients have melted together to form a smooth consistency.
- Once your mix is smooth, take it off the heat.The mix should begin to feel thicker under your spoon.
- Once you have removed your pan from the heat, allow the mix to cool for around 15 minutes.
- Once it has cooled slightly, this is when I add my green food colouring!You can add as little or as much green as you want to reach your desired colour but I would recommend adding little by little!
- Then, you want to mix with your spatula or wooden spoon until the colour can be seen evenly throughout.This should only take 1 minute or so.
- Once the fudge mixture has turned a nice shade of green, you want to add your mix to your baking tin and smooth it out the best you can to cover all the edges.I cover the base of my tin with a sheet of parchment paper which makes it so much easier (and saves on mess) to remove once set.
I like to use the back of the spoon as best I can to achieve a smooth surface on top.
- If you are adding some heart decorations, this is the time to do it!I added one by each corner that I was going to cut but you can place them wherever you like!
- Now, you can either pop your fudge into the refrigerator to chill or leave it to sit at room temperature.It should take around 2 hours but I tend to leave this for longer and think it tastes better if left overnight.
- Cut into round 1″ squares.Enjoy!
Storage
Store in an airtight container.
This fudge should keep for 1-2 weeks at room temperature.
If refrigerated, fudge can last 2-3 weeks.
Pin this recipe


More Fudge Recipes
- Kinder Bueno Fudge!
- Easy Peanut Butter Fudge Recipe!
- Biscoff Fudge Recipe
- Whisky Fudge Recipe
- Coffee Fudge Recipe
- Easy White Chocolate Fudge Recipe!
- Lemon Meringue Fudge Recipe!
- Easy White Chocolate Sprinkle Fudge Recipe!
- Easy Lemon Fudge Recipe!
- Lemon Meringue Fudge Recipe!
- Easy Dark Chocolate And Sea Salt Fudge Recipe!
- Dark Chocolate Fudge Recipe!
- White Chocolate Coconut Fudge!
- Baileys Fudge Recipe!
