
Easy White Chocolate Sprinkle Fudge Recipe!
This post may contain affiliate links of which we earn a small commission should you choose to purchase through them. This helps us to keep the site running. Thank you for your support
Did anyone else grow up at the time of buying pick n mix from the local shop (usually a 20p mix up for me!) of 1p and 2p sweets?
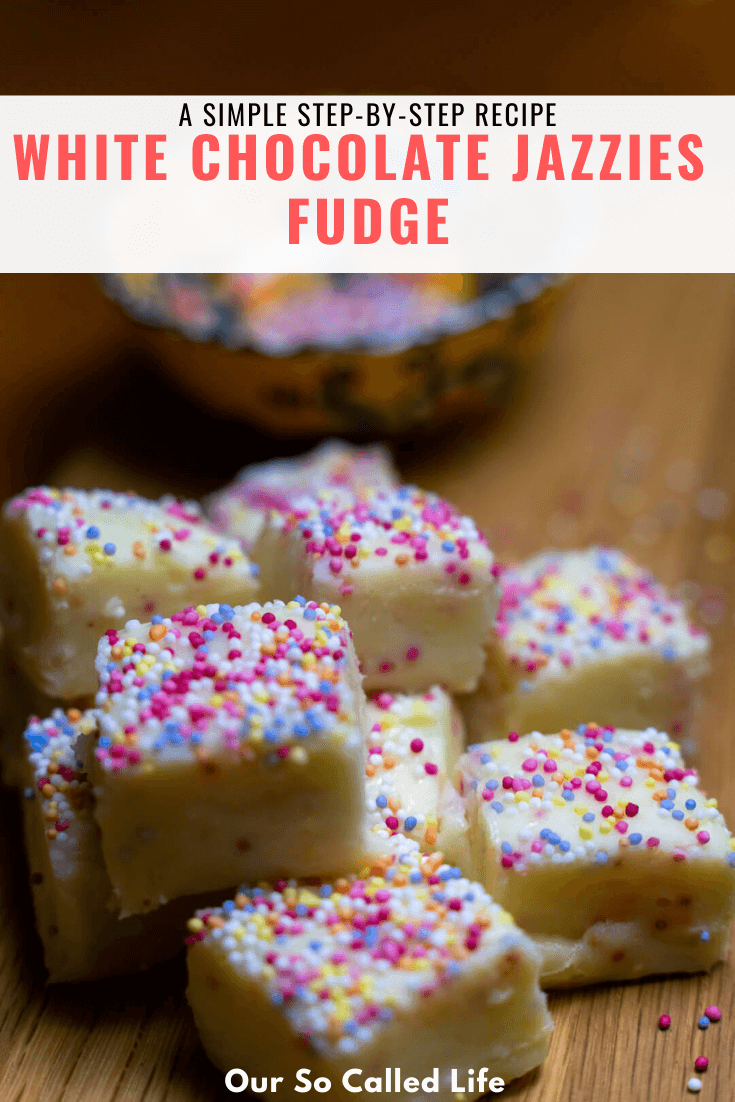
You would get this little paper or plastic bag with the Haribo gummy bears, rhubarb and custard, foam shrimp and bananas, cola cubes..maybe if you were lucky, a giant strawb..and they always featured Jazzies! These white chocolate discs with a crunchy topping of hungreds and thousands sprinkles!
Now, I don’t know where I can pick Jazzies up anymore, at least, without buying a wholesalers box of them, so I decided to mix things up a little by making some white chocolate fudge with the hard, crunchy sprinkle topping that I’ve been missing!
They are great! Creamy white chocolate but with a little something extra, and it’s so easy to make!
This white chocolate sprinkle fudge is a great one to make with kids and for those that might enjoy a little throwback to their childhood!

Overview
Makes: 40+ pieces
Prep time: 5 mins
Cook time: 15 mins
Total time: 2 hours 20 mins (with rest time)
Ingredients
- 450g White chocolate
- 1 tin Condensed milk (397g)
- 30g Unsalted butter
- 1tsp Vanilla extract
- Coloured sprinkles
Utensils
- Scales
- Large saucepan
- Wooden spoon/Spatula
- 8″ Square baking tin
Optional
- Parchment paper

Instructions
- Add 450g white chocolate, your full tin of condensed milk, 1tsp vanilla extract and 30g unsalted butter to your saucepan before placing on a low to medium heat.
Make sure to break your chocolate into small pieces, this will help the chocolate melt quickly.
- Stir the ingredients gently until all they have melted together to form a smooth consistency.
- Once your mix is smooth, take it off the heat.
The mix should at this stage feel a little thicker under your spoon.
- Once you have removed your pan from the heat, allow the mix to cool for around 15 minutes.
It should begin to form a slight skin in that time.
- Then, you want to mix with your spatula or wooden spoon until the mix thickens a little more and begins to lose a bit of its sheen.
You also want to pour in your sprinkles at this point. Go wild with it if you want those colours to run through!
If the mixture still feels too hot, leave for a little longer or place your saucepan in a basin or pan of cold water, this will cool it down as you mix.
This should only take 1 minute or so.
- Once the fudge mixture has thickened and lost a little of its gloss, you want to add your mixture to your square baking tin and smooth it out to cover all the edges.
I use parchment paper to line my tin as it makes it all the easier to remove once set!
I like to use the back of the spoon as best I can to achieve a smooth surface on top.
- Add your sprinkles now if you want a colourful topping to your fudge.
Make sure to gently run the back of a spoon or your hand over the fudge to make sure the sprinkles are slightly pushed in and won’t tumble off once set!
- Now, you can either pop your fudge into the refrigerator to chill or leave it to sit at room temperature.
It should take around 2 hours but I tend to leave this overnight as I feel the consistency is much nicer after this time.
- Cut into round 1″ squares.
Enjoy!
Storage
Store in an airtight container.
This fudge should keep for 1-2 weeks at room temperature.
If refrigerated, fudge can last 2-3 weeks.
Pin this recipe


More Fudge Recipes
- Kinder Bueno Fudge!
- Easy Peanut Butter Fudge Recipe!
- Biscoff Fudge Recipe
- Whisky Fudge Recipe
- Coffee Fudge Recipe
- Easy White Chocolate Fudge Recipe!
- Lemon Meringue Fudge Recipe!
- Easy Lemon Fudge Recipe!
- Lemon Meringue Fudge Recipe!
- Easy Dark Chocolate And Sea Salt Fudge Recipe!
- Dark Chocolate Fudge Recipe!
- White Chocolate Coconut Fudge!
- Baileys Fudge Recipe!